Who hasn't fed the ducks at the local park at some point in their lives? Probably everyone, right? Well how about drawing them? In this week's How To Draw, I shall hopefully encourage you to take a pencil and paper out to the park with you, as I shall guide you through the basics of drawing ducks, geese and swans.
 |
| Stage One |
To draw any species of duck, you will need to make an oval for the body and a circle for the head. You can elevate the head above the body with two lines for a neck if you wish. There may be some subtle size and shape differences depending on which species you are drawing, but the basic shapes are still the same.
 |
| Stage Two |
Now you can draw the details and reshape the body shape to how you want it. I will be drawing a mallard drake to demonstrate here. Just like with any species of duck I draw, I normally focus on the rear first and gradually move towards the head end. I divide each of the drake's plumage pattern, from tail to wing to eventually the head. As you divide the body, you should improve the outline shape piece by piece. For the bill, draw a 'V'-shape with a rounded tip, starting at the top half, but when you reached the bottom half, continue to create a dip for the throat, which bulges out slightly for the breast. Scribble in the water.
 |
| Stage Three |
Female ducks are drawn the same way, but the plumage is more detailed. On the body, you need to create a series of 'C'-shaped marks that gradually get longer or smaller, turning into dots. Shade in darker sections of the plumage.
 |
| Stage Four |
Draw over in pen, shading in the dark areas of the plumage and lightly for others. Give the female a light shading over after redrawing the patterns. If your drake has a shiny green head like a mallard does, don't do anything to it at all yet. You will see why in a minute.
 |
| Stage Five |
Colour in your ducks. The female is a light orange layer with heavier patches of orange over the top of it along with a light layer of grey. The drake is a light layer of brown which I rubbed out slightly before adding grey and heavier shades of brown. The bill is yellow. For the head, I start with a light layer of yellow before applying the green. Apply the green lightly at first and then, from the edges inwards, shade heavier. Then, with your pen, very, very lightly scribble along the sides of the head a bit at a time and gently smudge it inwards with your finger.
 |
| Stage One |
To draw geese, create a large oval for the body, a small circle for the head, two long lines for the neck and two lines for the legs. There may be subtle size differences between each species, but the basic shapes are the same.
 |
| Stage Two |
The method for drawing a goose is similar to when I was drawing the ducks but bigger with a longer neck. You can start from the head end this time and work your way down, dividing the plumage patterns with lines as you go along. The legs are drawn like wine glasses to begin with before travelling down to the feet.
 |
| Stage Three |
Draw over in pen and shade in the patterns.
 |
| Stage Four |
And finally colour your goose in. This is a greylag by the way, which is brown and grey with orange bill and legs (which are rubbed out slightly).
 |
| Stage One |
Swans are basically large geese with even longer necks. My final drawing will be of a mute swan with its wings fanned upwards in display. I draw a squashed oval-shape for the body, two long lines for the neck with a circle for the head attached to it. The wing is a round crescent shape.
 |
| Stage Two |
Your first focus should be on the body and wing before moving onto the head. Start at the tail end first. From where the tail meets the wingtip, draw the pointed tail and round towards where it meets the wing again at the centre of the body. When you get to that point, draw back to the tail, passing it to create the wing tip and around the top edge of the shape you made for the wing, until you reach the point where it dips and meets the neck. Draw up and round the head, adding in the bill as you go along, back down the neck and round to the centre of the body again. Divide the wing up with a line going upwards and add in lines for primary feathers.
 |
| Stage Three |
Draw round the outlines with your pen and rub out the pencil lines. Shade in extremely lightly for any shadows the wings create.
 |
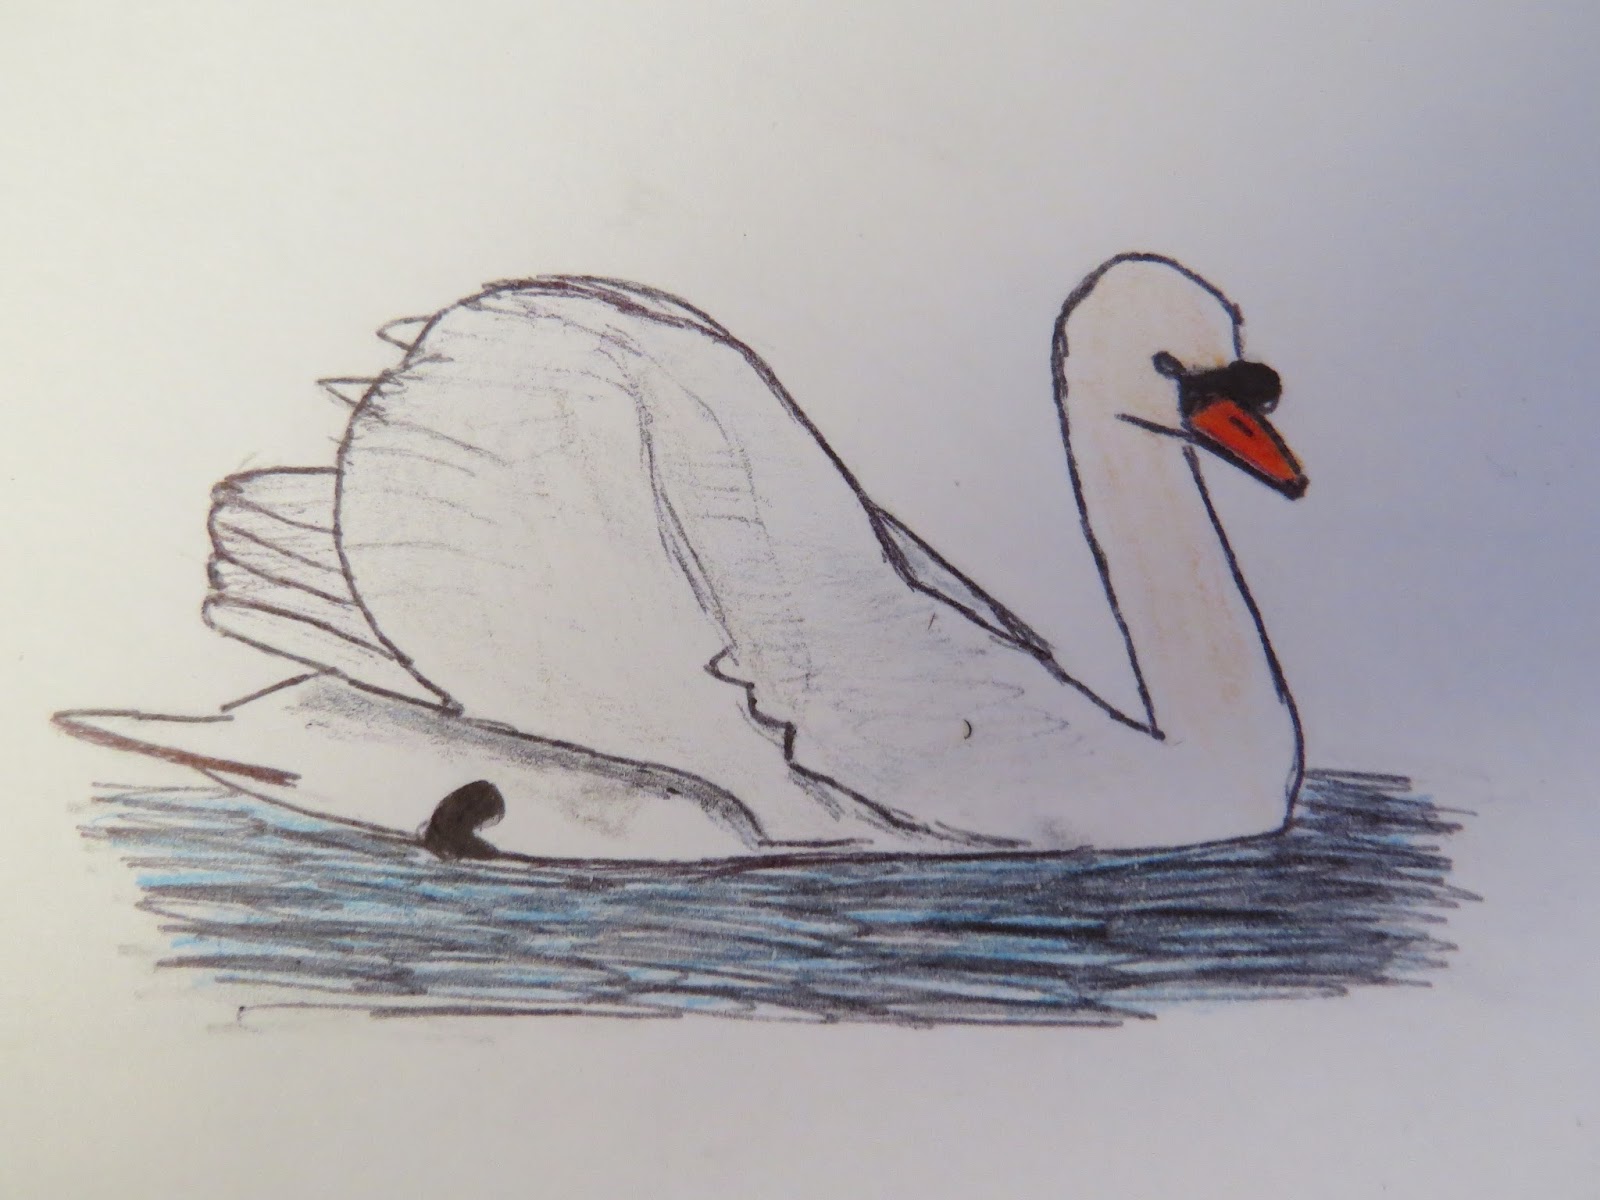
| Stage Four |
Finally, colour your swan in. Though swans are white all over, I lightly layer grey on the wings and shadows and yellow and orange for the neck and head. I then rub out these colours with a rubber to fade it. The bill is orange and red.
Wildfowl are at their best at this time of year and in great numbers. So make the most of the opportunity and practice drawing these wonderful birds before they migrate back for the summer or look drab from moulting. Good luck with your drawings!


No comments:
Post a Comment