Since my visit to Holkham Hall to see rutting fallow and red deer on Monday, I thought why not, let's do a How To Draw on deer this week. This is not an easy subject to draw, especially with the antlers and dramatic clashes that this annual event is famous for. But as with all drawing, practice makes perfect. Take as much time as you like on them, this is not a subject to rush. As it happens, it took me several hours to draw each one of these drawings, but don't let that put you off. I found it rewarding and felt accomplished when they were completed.
 |
| Stage One |
The rut is as much about female deer as it is the males. Unlike the males, females do not have antlers but they do have the decision on if the dominant male should mate her or not. As they don't have antlers, it gives you one less thing to draw. The basic shapes to draw a deer with is: an oval for the body, a circle or oval for the head (depending on if you want the subject to face you or not), two lines to connect them with for the neck, a series of lines for the legs and two small oval shapes for the ears.
 |
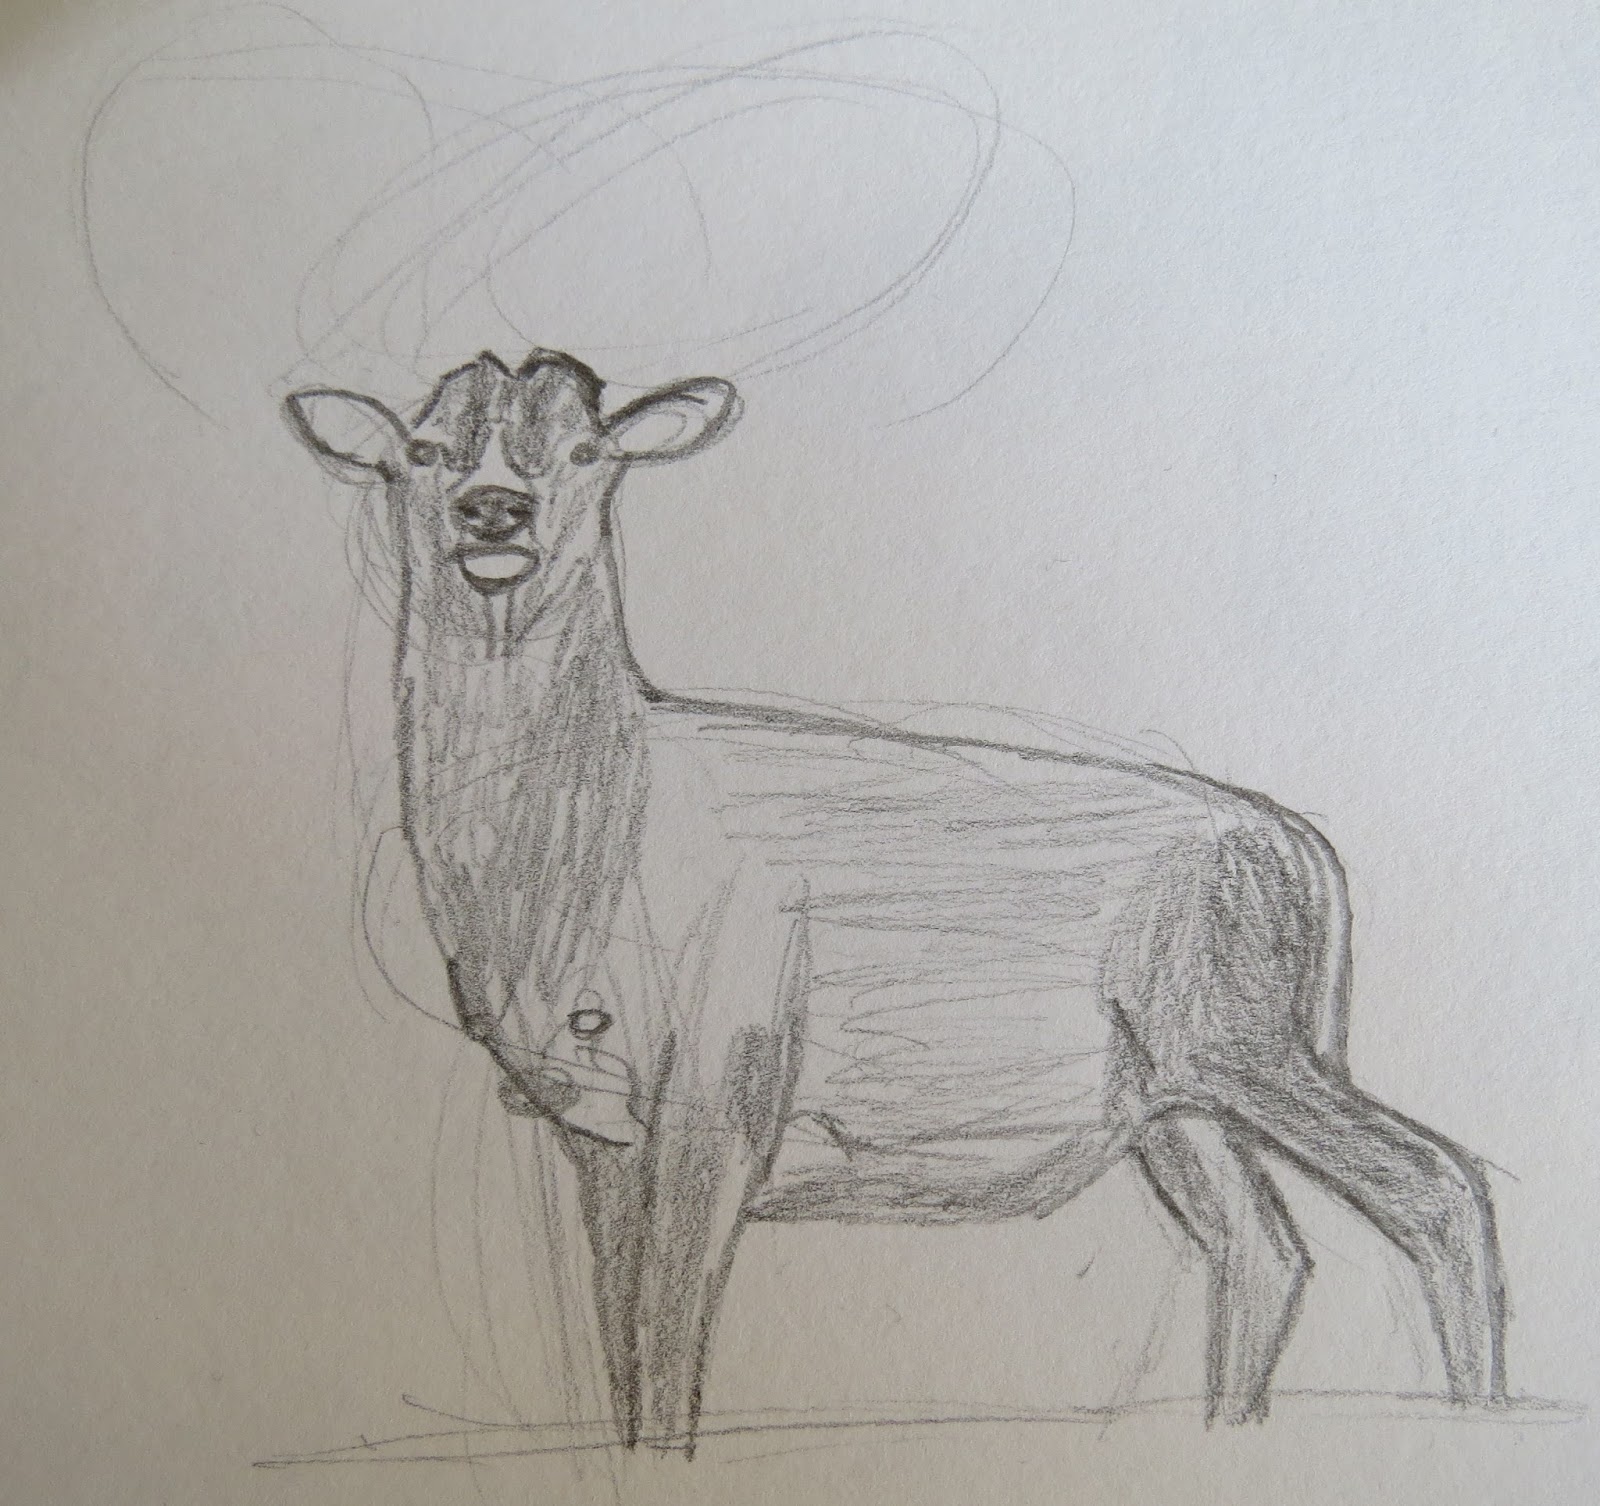
| Stage Two |
Using the shapes and lines, you can begin your first attempt in drawing the deer in more detail. I found it easier if you start at the ear on the left. Draw a line bridging the two ears at the top of the head and then draw the outline of the head. What I do is to create shapes and shade them in, that is how I created the snout and work out where to place the eyes, nose, etc. Using this method, I was able to construct the shape of the neck and body as I worked my way down and across the deer's body. The legs can be tricky and will take several trial and error attempts to get the shapes right. Try creating a structure made of three round shapes and a series of lines for each leg and draw around them.
 |
| Stage Three |
Redraw in pen. Just as with a pencil, create faint shapes and shade them in, working your way down and across the body, starting at the ears. I found this easier than drawing the outline first as it gives you a chance to readjust the body shape until you are happy with it. This is your final chance to improve your deer. As you shade in the deer's back, don't forget to add in the spots and avoid shading them in.
 |
| Stage Four |
Finally, colour in your deer, avoiding the white areas such as the spots. This is a fallow deer doe and are rarther spotty, but other female deer in other species are not spotty at all.
 |
| Stage One |
My next drawing is of a majestic red deer stag. You need to draw the same shapes to create him, oval for the body, etc, etc. The only difference is that you need to draw a few round shapes on top of the head to roughly use to measure the shape and size of the antlers.
 |
| Stage Two |
 |
| Stage Three |
For now, I ignore the antlers and focused on drawing the body instead. Just as with the female deer, I began drawing from the left ear and created shapes and shaded them in as I worked out where all the features go and to improve the general shape. Darker areas are shaded in more heavily. Do the same with Stage Three, when you draw over in pen.
 |
| Antlers Stage One |
 |
| Antlers Stage Two |
Now that you have completed the body, the attention is now on the antlers. At the top of the stag's head are two bumps. These are the bases for the antlers to be drawn from. A red deer stag's antlers consist of many prongs or spikes, so from the base, draw the first spike and beside that, a second and so on. But instead of drawing an outline, I shade in the shape before drawing round it. When you draw over in pen (Stage Two), you can be more careful than you were with the pencil.
 |
| Stage Four |
Colour in your stag. I used brown and orange with grey highlights and yellow for the rear and underside. The antlers are lightly brown.
 |
| Stage One |
My final drawing displays a clash between two rutting fallow deer bucks. The basic shapes are the same as before, but the positioning is different. The heads and necks are lowered, the body is arched slightly, the legs are positioned dramatically and the antlers touching.
 |
| Stage Two |
I then improve the structure and shape of the body by creating shapes, shading them in and building on them. The antlers of a fallow deer buck are wider, more club-shaped with spikes. They also appear differently at a different angle, so keep that in mind when you are drawing them. Shade in the dark areas and add in spots along their backs.
 |
| Stage Three |
Repeat the same when using a pen, but slightly shade in the antlers and more of the bodies.
 |
| Stage Four |
When it came to colour, I used a light brown, a dark brown, highlights of grey, and orange to create the various shades on both the deer's bodies and antlers.
And that is how to draw deer. I hope I have explained it well enough as it is a tough subject to draw. If I haven't, feel free to tell me what confuses you in the comments below and I will get back to you as soon as I can. Remember, practice, practice and practice some more and you will get the hang of it.


No comments:
Post a Comment